A Truly gigantic miniature!
After a design and build process spanning the last 6 months, Ira Metallum finally stands!
 |
Measuring a whopping 4.5 feet tall, Ira Metallum is a beast of a titan
|
 |
Getting the titan to stand unaided was a huge achievement!
|
As the structural build (with the exception of the arms and head) is now complete, I was able to assemble Ira Metallum. I am close to being able to permanently fix the hips and feet in place, but am holding off until I'm completely happy with the pose. I'm pleased with how she's looking so far; not static, but not over-extended either.
In terms of size, Ira Metallum is approximately 4.5 feet tall, absolutely dwarfing everything around it! The width of her hips is approximately the same height as a Forgeworld Warlord titan! I'm pretty happy with the size in general; I used plenty of reference when deciding on the scale. The pictures below were pretty influential...
 |
Cover art from 'The Burden of Loyalty' by Black Library
|
 |
| Cover art from 'TitanDeath' by Black Library |
 |
| An Imperator should tower over everything else around and boy does she tower over my reaver titan! |
 |
Her feet are so huge, she could crush a knight like a bug...
|
 |
...or kick a reaver titan like a football!
|
 |
Ferrum Dominus only comes up to the pelvis!
|
 |
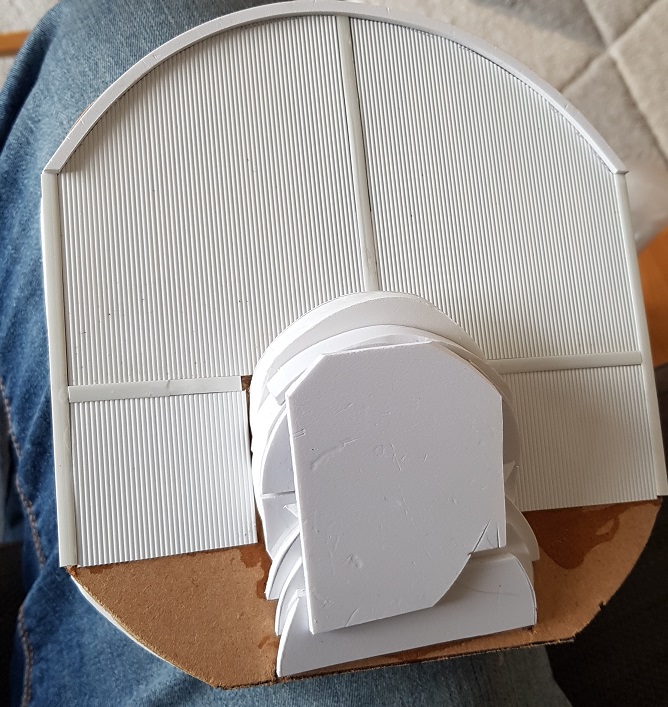
Hellstorm cannon barrel size test
|
Build diary
Pelvis
In order to get Ira Metallum standing, I had to get the pelvis built and detailed to a point where I could lock in the hips. I detailed the basic structure build in my last post - below are some images of the detailing process including the creation of a giant crotch plate bearing the Titanicus symbol.
 |
Like the original epic model, I've created a 'belt' section with the Mechanicus symbol forming the centre of the buckle
|
 |
Massive vents and piping populate the rear section
|
 |
A section of my moulded arches line the upper rear
|
 |
A storm bolter protects the rear of the pelvis
|
 |
A large hatch and a loading door are separated by a winch which would be used in loading or accessing the titan's groin and core structure
|
 |
Locator bars are used to mount the large crotch shield plate
|
 |
Once I had created the basic shape of the shield from styrene, I added layers of plate detailing and trim. Finally I carefully cut the Titanicus 'T' symbol from a thin piece of styrene and attached it to the centre of the plate
|
 |
| From the side, you can see the curvature of the plate. This was achieved by carefully heating and bending several layers of styrene |
 |
Once I was happy with the basic shapes and details, I sculpted over the top of the T symbol finish the design
|
 |
I fashioned two Piston rings which would need to be completed before mounting the legs
|
 |
| The piston rings fit over the main shaft before the hips are attached |
 |
Pistons will be attached between the rings and legs after the hips are locked in place
|
 |
There are some huge pneumatic pistons on the legs and they will need huge hoses to function - these will be attached once the legs are finally posed. Again, the electrical cabling also has connector ports located under the pelvis and inside the thighs
|
 |
The pipes and cable bunches ready to be installed once the legs are set in place
|
Legs and feet
The legs have been the single hardest element to complete due to the complexity both in universe and in the real world due to the structural load on the hips. In my last post, I showed how I was strengthening the load bearing areas. Next came the posing so that I could work out exactly where the locators would need to be in order to lock the pelvis in an upright position.
 |
I mocked up the leg positions and made sure that they were level as well as how they would fit on the base. The right leg would be tilted as if the titan was about to raise its foot to take a step. Once I was happy with these positions, I fixed the knees with screws and glue.
|
After the above picture was taken, I brutally cut off the toes of the right foot as they would need to be reposed to accommodate the pose.
 |
Once I had worked out the height the heel would need to be, I created a wedge to support the ball of the foot
|
 |
I cut the side lower sections from the front toe door so that they could be positioned to tilt with the toe
|
 |
You can see how they fit back into the door in the shin plate one the toe was located
|
 |
| A side view shows the tilt on the foot and toe |
 |
| The angle on the toe isn't too extreme, but it really does give the impression of the foot raising off the floor |
 |
I angled the wedge connecting the toe to ensure that the structure was nice and solid so it could help support the rest of the foot
|
 |
The two sections I cut from the door were glued to the toe in advance to help locate it when I was ready to reattach it to the foot
|
 |
I detailed the bottom of the foot around as it would be slightly visible once the heel was off the ground
|
 |
The treads were built around the foot supporting wedge
|
 |
The wedge itself was made from foamex scraps as it will be covered with car body filler after the final assembly to add strength. It will then be covered with detritus etc which will make it look as though the depressed ground is falling away from the foot as it's raised
|
 |
The fact that the foot supports the leg on its own was encouraging and showed that I had got the balance just right
|
 |
The ugly wedge can't be seen as it's right under the middle section of the raised foot
|
 |
While working on the foot, I also started detailing the leg, layering the structure to add depth
|
 |
| I designed the legs to incorporate large shock absorbers in the thighs |
 |
The shocks consist of large pistons and tracks for the two sections to move over, to give a nice controlled mechanical motion
|
 |
The inner thigh in progress
|
 |
Inner and outer leg comparison
|
 |
Although I changed some elements, I tried to stay pretty true to my original blueprints
|
 |
Once the sides were complete, the outer cladding was joined across the front
|
 |
I added small cogged wheels to the shock tracks along with other minor details such as cabling
|
 |
The final thigh assembly with the large shin piston in place
|
 |
The legs are a lot chunkier now the details are on. Note the outer knee cogs
|
 |
TRIPLE SHOCK PISTONS FTW!
|
 |
| Once the detailing on the thighs was pretty much done, I tested the positioning again and was happy that they lined up as expected |
Fixing the hipsOf all the structure, the hips would need to take the most amount of weight for their size. Test fitting and marking positions for the piston rings was essential. It also gave me an opportunity to check the rigidity of the legs and overall balance of the pose.
 |
Then, with the help f my lovely assistant (the mrs), I was able to test the pelvis and mark the pistons of the piston receivers on the hips
|
 |
Even though the legs were not glued to the shins, everything was holding its position perfectly
|
 |
Mrs G's hand is only stopping the top heavy pelvis from revolving at this point as the legs are happily taking the weight
|
Once the positions of the hips were marked off, I could build the position lock inside the hip socket and connecting shaft.
 |
I used a cross screwed into the hip sockets to stop the pelvis rotating.
|
 |
The cross sockets were strengthened and set in place with filler making them solid as a rock. Once I am happy with the final fit, I will be gluing them in place with epoxy for a super strong bond
|
 |
On the inside of the pelvis shaft is a corresponding cross structure which is screwed into the pelvis and locked in with filler
|
Carapace
 |
A gigantic titan needs suitably beefy point defence - enter the gatling cannons!
|
 |
I had saved these two spare gatling cannons after building my knights. With a little converting and some magnets, they fit perfectly under the lip of the carapace!
|
 |
The rough carapace layout
|
I have already built the Macro / Quake Cannon tower and Apocalypse launchers, but there's a fair amount still to do on the carapace. I'll be adding the two quad guns for AA support, the central volcano cannon and two turbo laser turrets. There will also be a strategium dome in the centre like the original epic miniature.
What's up next?
As well as the structures, I've already created reloading servitors and crew for the carapace small arms (is a quad gun really small?!); I'll show some pictures in a future post!
I have a ton of filling and sanding to do as well as finishing off the left leg pistons. Once that's done, I will be able to screw the feet into the base and finally glue the hips in place. Once I've done that, it will be time to detail the shins and add the cabling / hosing to the legs and pelvis.
I have intentionally left the really fine details for now. I intend to try and do things like heraldic flourishes and rivets on the trim at once so as to avoid unnecessarily slowing down the build process. Adding the rivets will be incredibly time-consuming as it involves drilling a shallow hole then gluing a 1mm ball bearing into the hole. I estimate I have about a thousand of them to do...
I'll try and provide another update around mid-October - hopefully by then I will have some arms and a head to show as well!


Outstanding.
ReplyDeleteThanks - check back in a few weeks for another update! :)
DeleteAmazing work as always man. Stunning stuff!! (Adie- TOC)
ReplyDeleteCheers Adie - always good to hear from you!
DeleteFab mate, love the extent of the fine detailing, it’s a great stage now you’ve got her standing, have a beer!
ReplyDeleteCheers Siph - felt so good to get her standing on her own two feet! Taking a break for a couple of weeks while I work on something else for a bit. A new knight shall be completed soon...
DeleteSimply amazing! It's great to have your progess archived in these posts and see how you get along with every new step.
ReplyDeleteThanks Xarf - as always, it's great to hear from you! Glad you're still following my random musings! :)
DeleteHoly crap this is Badass. I'm excited to see more progress on this. Any chance you could stick a miniature like Marcus Harnen on top or by the foot so we can really get the idea of the sheer scale of this behemoth? If those are knight vulcan gatling cannons under the carapace, it's definitely enormous...
ReplyDeleteSure thing - check this image which I shared in a previous post! https://1.bp.blogspot.com/-5ww9H9BDiOU/XwyWEpo3blI/AAAAAAAADIs/c1QwJUxqTxYTrryyQ6_CANxUHB8iu5F4ACLcBGAsYHQ/s640/Scale%2B1.jpg
ReplyDeleteIt is genuinely enormous! :D