Let's dive in with the 'smaller' of the two subjects...
Warhounds abound...
I've had two Mars pattern Wahound Titans sitting in my garage for some time, waiting for their turn on the construction conveyor belt...
Fortunately, the announcement of the 2019 Titan Owner's Club Walk has given me the required rocket up my backside to get stuck in!
For anyone not familiar with the ToC or the Walks (giant Titan battles) which they run, check out the link below...
http://titanownersclub.blogspot.com/2018/12/titan-owners-club-walk-uk-2019.html
I was extremely jealous when I looked through the coverage of last year's Walk so I promised myself that I would sign up as soon as the 2019 Walk was announced and did just that!
So, introduction aside, on with the build photos!
 |
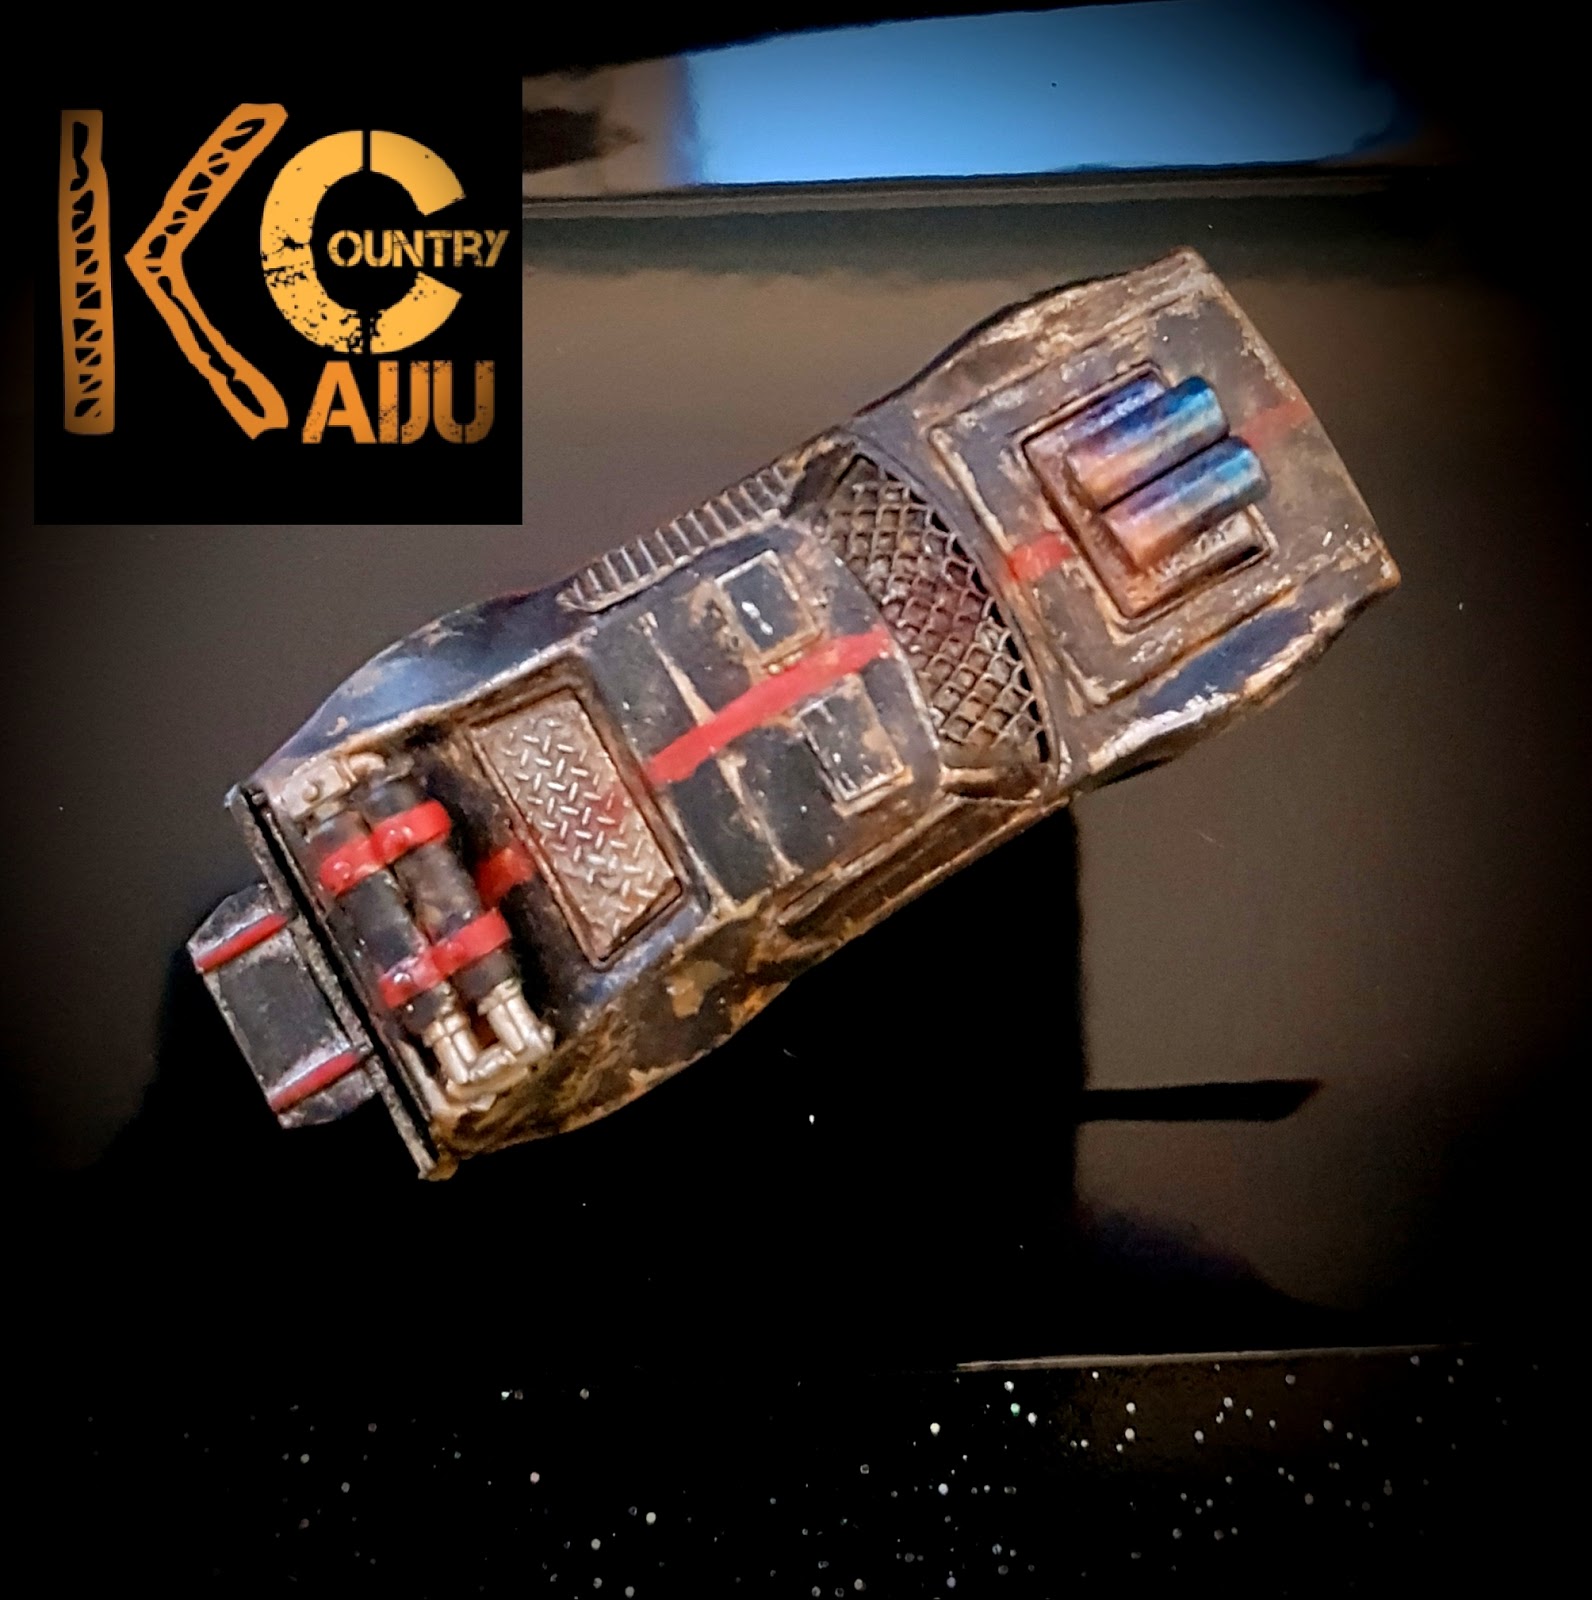
| 2 Warhounds come in an immense number of parts! |
 |
| I started with the obligatory bath and scrub of Warhound #1 to remove any mould release. The rites of cleansing were performed in my bath and the rites of drying in a big towel. The rites of god-awful backache soon followed... |
 |
| I removed all of the mould lines and flash, constructed the sub-assemblies which would allow me to paint all of the internals and hard to reach areas on the body before spraying the whole thing in a satisfying mid-tone silver. |
 |
| Every component got a wash of Agrax Earthshade. Doing it at this stage allows me to be quick, messy and give everything a consistent look. I then started work on the head and internals as I would need all of these areas complete before assembling the main areas. |
 |
| Basic colours of the internals being worked up from a cream basecoat including plenty of weathering. You will also notice that I have measured and cut the eye lenses out of green acetate. This was fiddly and took some time, but was worth the effort for a perfect fit. I won't add the lenses until the head is otherwise complete. |
 |
| This is the template I made for the eye lenses so that I can easily make a pair for hound #2! |
 |
| Here are the basic head colours blocked out and washed with several very thin coats of Agrax Earthshade and Nuln Oil. I like to slowly work from the Edging further into the plates building up a nice gradient. |
 |
| The main red areas are highlighted and then washed with a couple of red glazes to give the panels a satin sheen and bring the paint layers closer together. |
 |
| The black stripes were painted on using masking tape to keep them nice and clean. I freehand the white stripes and then use Rhinox hide mixed with a flesh coloured wash to build up dirt, chips and rusty areas. It's important not to go too overboard on this stage... |
 |
| The chips and tidemarks on the armour are sparingly highlighted. From a distance, the chips etc hardly show up, but add depth, breaking up large panels and look nice up close! |
 |
| You'll notice that I've also added bronze with verdigris to the vents and painted the nose in a weathered copper colour to make it look more like a hounds nose - I kept this subtle as I didn't want him to look comical! |
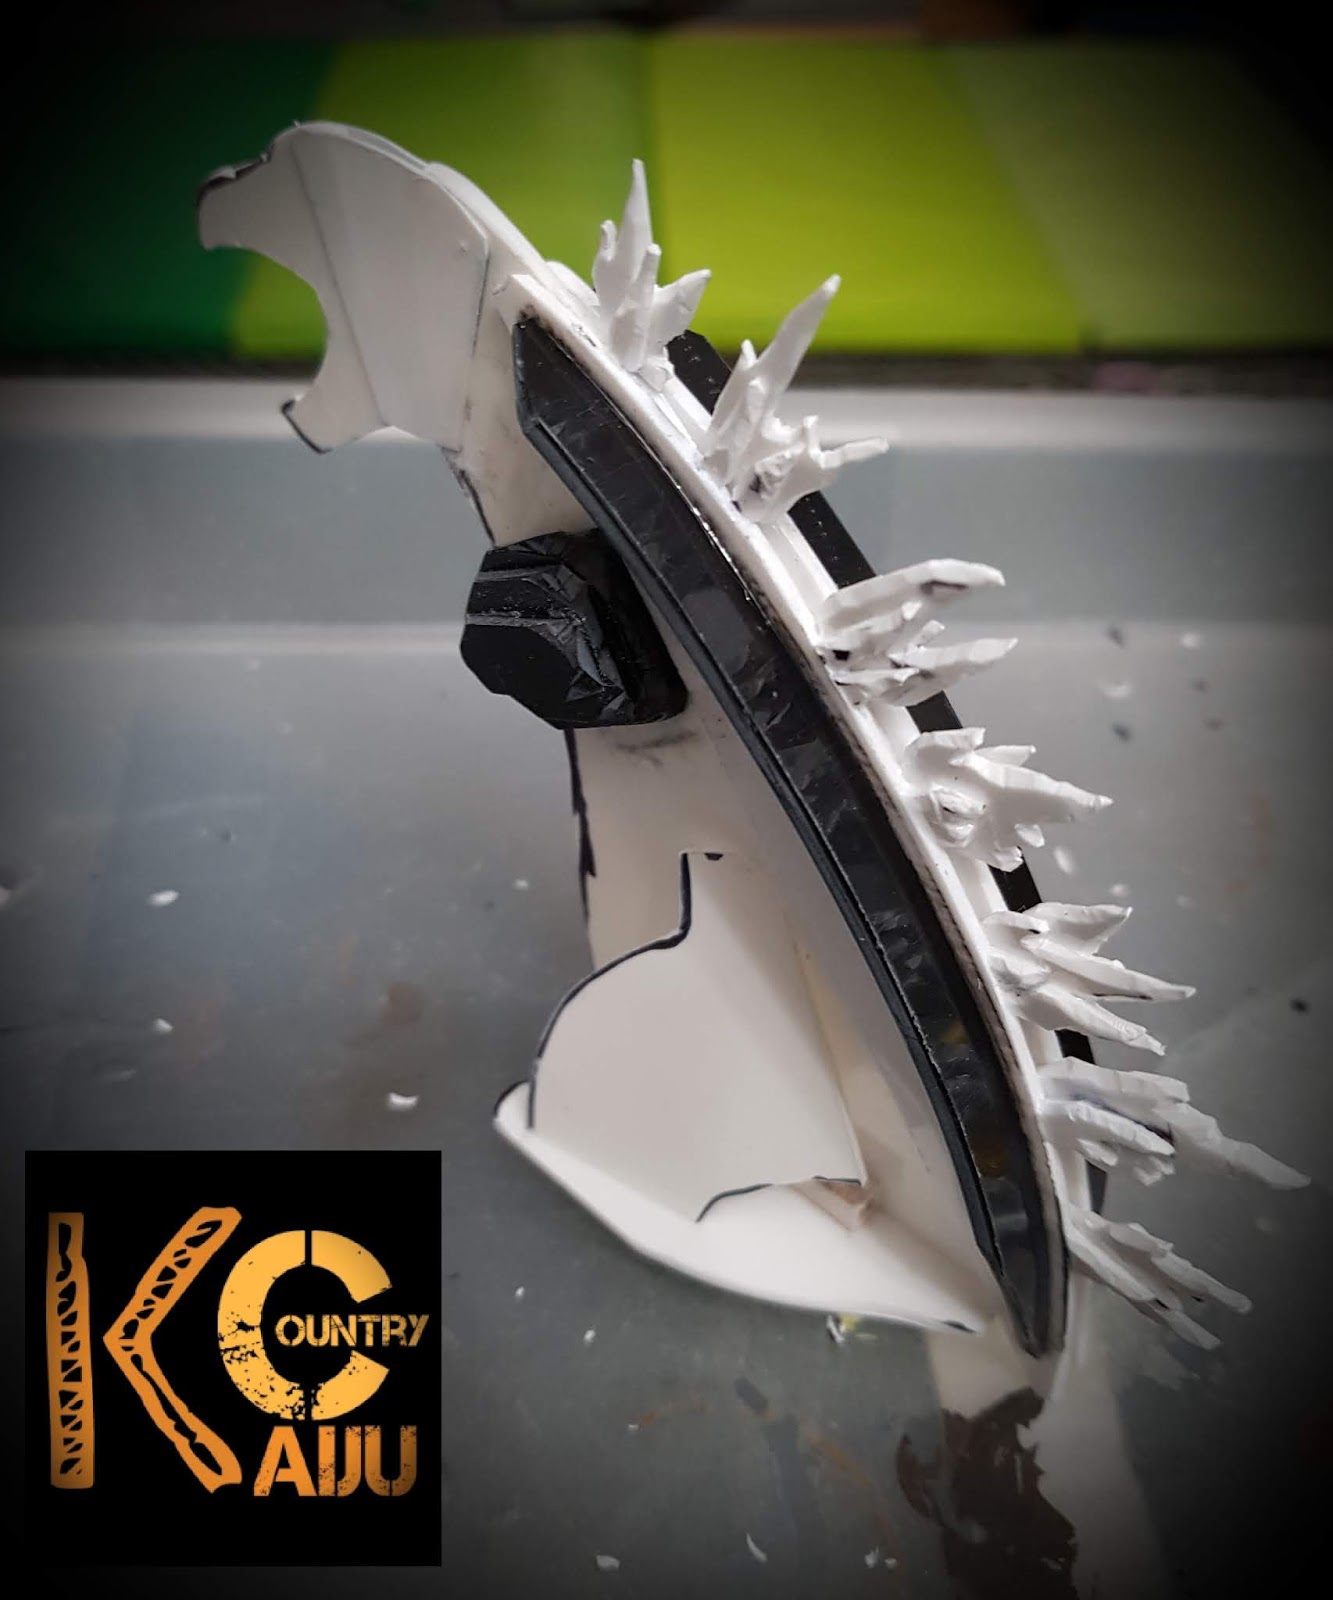
So, you will have noticed that I have only shown pictures of the head, body and arms so far... That's because I deliberately left building the feet and legs until I had decided on the final pose I would aim for.
In the end, I decided that I wanted my hound going full tilt; his absolute top speed, pounding over the battlefield to get in behind enemy lines and wreak utter havoc!
I've seen people build warhounds with extreme poses before, but never really outside of a certain range of motion. Functionally, an ostrich is the closest fit for a Warhound titan in terms of its structure. With this in mind and trying to snapshot the most dynamic moment for a top speed running cycle, I settled on this as a basic target:
 |
| Ostriches can reach 70KPH and are considered to be one of the fastest animals on the planet. My Warhound would still stand on its face as it went past. |
I have to admit that I had to experiment a lot with the parts to determine any possible limitations of the kit as there are tabs, notches and detailing which can limit movement. The trick was the remove or cover any of these without causing any structural conflicts as it would, for instance, look ridiculous if the pistons were bowed or at an awkward angle.
There were a few issues where the range of motion was hindered by piston length and locations, but I managed to get a pretty extreme pose out of the raised leg! You'll notice that there are a fair few replaced piston rods due to the additional length I required to really stretch the toes up and under following some judicious trimming...
 |
| Getting the knuckles to sit correctly with extended pistons was pretty hard work, but ultimately worth it! I used quite a lot of steel pins as well as keying areas prior to gluing for additional strength. |
 |
| I would have liked the leg bunched further up, but this is full lock on the joints and I had to make some adjustments by fractionally lowering the armour plate in order to accommodate it. Thankfully I can still pose the leg up and forward a little more than is shown in this image. If you look closely at the two main joints, you'll see that I have put several steel pins straight through the centre of the cog rivets - a handy place to hide a structural necessity! |
So, after I've added the remaining ankle pistons, I'll move on to the second leg. Even though the pose of the other leg is not as extreme in terms of pushing the kit components past their natural range of movement, it will have the additional challenge and burden of holding the entire model on an inch thick section of resin!
The hideously complex task of running thick metal pins through the entire leg and up into the pelvis without making them visible (unless I can hide part of them as piston lengths) will take some head scratching and a lot of drilling!
I also have to decide what to make his base from. Although I'm normally loathe to use heavy and / or fibrous materials for basing, I think I may have to resort to MDF (spits on the ground) in the case of this bad boy. The two things I normally avoid like the plague will actually be required...
The weight will be needed to counterbalance the model and due to its density, MDF won't bend or bow like plastic or acrylic sheets do. Even at 5mm, styrene will bow under enough pressure for a long period. I can't think of anything worse than my poor warhound slowly descending to his face on a bent plastic base!
Likewise, the fibrous nature of MDF means that it will actually soak up enough epoxy to harden and strengthen the area taking the weight. The non-porous nature of styrene and acrylics make them unsuitable for this reason. I could weld a rod to a steel plate, but I'm not that much of a loon. And I don't have a welding torch. Yet...
Anyway, I'll post some progress updates as and when I've made some significant progress!
Imperator Titan
There. I just came out and said it. I'm building an Imperator Titan. Now you know why I called a Warhound duo small!
I started planning and working on an Imperator Titan some years ago. What with having had 2 young children and little time or space to work on him, the big boy went into storage and has been quietly weeping in my garage for far too long.
With all the excitement over the ToC Walk, a whole load of new buddies who are excited over titans as I am and the fact that I now have a little more time and space, I've diverted nominal power and noospheric resources to resurrecting this build.
Then...
The amazing Imperator artwork from the 90's Titan Legions game booklet is one of my absolute favourite pieces of 40k / Titan artwork. Ever. It's amazing for many reasons and when I started the Imperator a decade ago, it was one of only a handful of sources for inspiration. It was a great place for me to start when trying to work out what were really important aspects of this giant machine.

Now...
We now live in a golden age of creativity and have been recently blessed with some amazing new images of titans like the one below which is from the front cover of the new Horus Heresy novel Titandeath, which is currently on my reading list...

The original build
My original build was a bit more limited in scope than my newer design. I tried to repurpose a number of components from those available at the time, to come up with a layout for the Carapace cathedral and armaments:

While it's not awful, it is a little blocky and requires a lot of reworking to bring it inline with the the Mars aesthetic I'm aiming for.
 |
| Apocalypse Missile Launcher towers - solid and functional. Will need some additional detailing and the plan is to connect both the Apoc towers to the Quake cannon tower with buttresses. |
 |
| This scratch built Gatling Blaster is one of the two forward armaments on the carapace. The second will likely be a Turbo laser destructor. There will also be a number of secondary armaments on the carapace, comprising 2 quad guns and an Icarus lascannon. Something which very quickly became apparent was that these weapons wouldn't be able to reach further than the end of the Imperator's toes at maximum range on full traverse, meaning that they will be limited to anti-aircraft duty! |
 |
| A Quake cannon resides on the tallest tower at the rear of the carapace. This normally fortress mounted gun fit perfectly with the silhouette of the original Imperator. I need to thicken the platform it's sat on as it looks a little flimsy despite actually being as thick as a space marine's thigh! |
 |
| The forward mounted Belicosa pattern volcano cannon will reside under a grand Aquila shaped arch directly over the Titan's head once construction is complete. |
 |
| The basic foot design. Despite needing thicker toes in my opinion, this foot is already larger than a Baneblade! The titan will stand at approximately 4.5 feet once it's fully completed! |
Despite having already measured out and started the internal load bearing structure, I decided that building both limbs and the head prior to the main assembly would be wise as I need to made sure that it can take the (considerable) weight of these extremities!
I wanted my head design to incorporate elements of both the original brutal looking Iron monstrosity and and the newer sleeker Imperator images:
 |
| My favourite initial sketch. This is pretty much the basic look I'll be aiming for. Like it's smaller Forgeworld cousins (lol), I want the interior of the head to be fully detailed. I'm sure it will lead to many sleepless nights!! |
 |
| This is a more evolved version of the previous drawing. I like to sketch things out on graph paper when designing parts for production as it allows to create them at 1:1 scale and lay the drawings out to check scale. In case you're wondering, the graph paper is a1cm grid, making the head approximately 22cm / 8.5" tall. And yes, he will have Aquila eyebrows and nostrils! |
One of the largest calibre weapons on the battlefields of the 41st millennium. Despite conflicting sources claiming this weapon to be both energy and solid projectile based, I am of the opinion that this weapon is not energy based, but is in fact an evolution of the Gatling blaster. In much the same way that the Imperator grade Plasma Annihilator is a larger version of the Sunfury, my version of the Hellstorm Cannon will take design cues from the Gatling Blaster and dial them up to 11!
 |
| The basic profile of the weapon arm incorporates elements of the original epic design along with both the updated look of a modern Gatling blaster and the similar Mars pattern armour plating to the FW Warlord Volcano Cannon design. |
Here are some bonus pictures of the mini gun I built over a decade ago... Unfortunately the mini gun is no more. I'm now also much older, greyer and fatter than in that picture! :( |
| I'll take your 6 Gatling Blaster barrels and raise you two. That's octagonal death to you heretic. |
 |
| The forward barrel brace was a real head scratcher in terms of engineering something which looked convincing at this scale and functionally held together as a solid component. 3mm styrene support struts along with screws and epoxy resin glue held everything together in the basic shape. |
 |
| It may look butt ugly, but I packed the interior with yellow / grey Milliput as it has incredible strength when cured. |
 |
| It's worth noting that all of the styrene shapes were laboriously drawn out on graph paper then cut from 3mm styrene sheet with the correct angles prior to assembly. Having worked with styrene for a long time, I know that even the thickness of the deformed styrene ridges created when cutting would change the angle by a fraction. As such, I had to dry fit and adjust every component before the final assembly. It was a challenge for sure! |
 |
| In order to mimic the barrel gradient of the Gatling Blaster barrels, I used two different sizes of piping. I used a pipe cutter to get the angles of the cut exactly right. There's nothing worse than wonky barrels. I used pre-fabricated plugs in the end of the barrels to give me a relatively accurate gradient at the ends. I intend to add edging to them once the structural work including the under-slung support beam is complete. Note that I have also filled and sanded the forward brace so it's a nice smooth component now! |
 |
| Test fitting. The barrels on their own are approximately 30cm / 12" long! It's a flippin' monster! |
 |
| I used rubber receivers to accurately locate the barrels within the circular housing which will connect it to the firing mechanism and ammo hopper. It's one of the most important pieces to get right as it will be taking all of the weight from the barrels and will sag if I'm not careful! I've made a 1:1 minigun prop before and it was a major concern! |
 |
| I labelled everything to make sure that it all went in the correct position when I came to the finally assembly! I also built a massive stack of styrene in the centre to help spread the weight of the barrels across the plates which will sandwich it. |
 |
| Final dry fit before I glue and pin everything in place! Wish me luck! :) |


 |
| Jeez, I look about 12 years old... |
And finally... the shameless hijacking of the mighty Plasma Annihilator by Forgeworld, then prefixing it with the Sunfury moniker for the Warlord Titan left me both aghast and with no option but to create a new class of Plasma Annihilator befitting my mechanical god of war!
My Imperator's plasma weapon shall henceforth be known as the Starshatter Plasma Annihilator! Pics in a future post.... :)
TREMBLE IN FEAR ENEMIES OF THE OMNISSIAH!!!